


How to Add Apple Pay and Google Pay to Your Payment Page


Let customers pay faster from the devices they already use
To accept Apple Pay and Google Pay online, you need a payment page and setup that supports wallet payments when available. For many small businesses, the easiest way is to use a payment service that supports these methods, then send customers to a payment page instead of building checkout code yourself.
PaymentLink.io works with Stripe. When your Stripe account supports cards, Apple Pay, and Google Pay, PaymentLink.io helps you show a branded payment page where customers can pay using the available options.

Why Apple Pay and Google Pay matter
Wallet payments make checkout easier because customers do not have to type their card details. This is especially helpful on mobile. If someone is paying from a WhatsApp link, Instagram message, email, or QR code, they are probably already using their phone.
UK Finance reported that mobile wallets continued to grow in the UK, with more than half of adults using them by 2024. Because customers are familiar with these wallets, it is helpful to support wallet payments whenever possible.

What you need before you can accept wallet payments
The exact needs depend on your payment service and account setup, but most businesses need:
- A payment provider or gateway that supports Apple Pay and Google Pay.
- A checkout or payment page where wallet buttons can appear.
- A supported customer device, browser and card.
- Correct business and domain setup where required by the provider.
- A clear payment page so the customer knows who they are paying.
Apple Pay and Google Pay are not separate websites
Apple Pay and Google Pay are payment options that show up at checkout. They do not replace your payment page, product page, or payment request. You still need a clear reason for payment and a place where the customer can see the amount.
Apple Developer guidance explains that using the Apple Pay SDK or a payment provider's JavaScript API is often a quick way to support Apple Pay. In contrast, the Google Pay API guidance describes Google Pay as a way to access saved cards in Google Accounts.
How PaymentLink.io helps small businesses avoid checkout development
Many small businesses do not want to build their own checkout. PaymentLink.io lets you create branded payment links and pages using your connected Stripe account. This means you can focus on the payment request, branding, and customer experience instead of making a checkout from scratch.
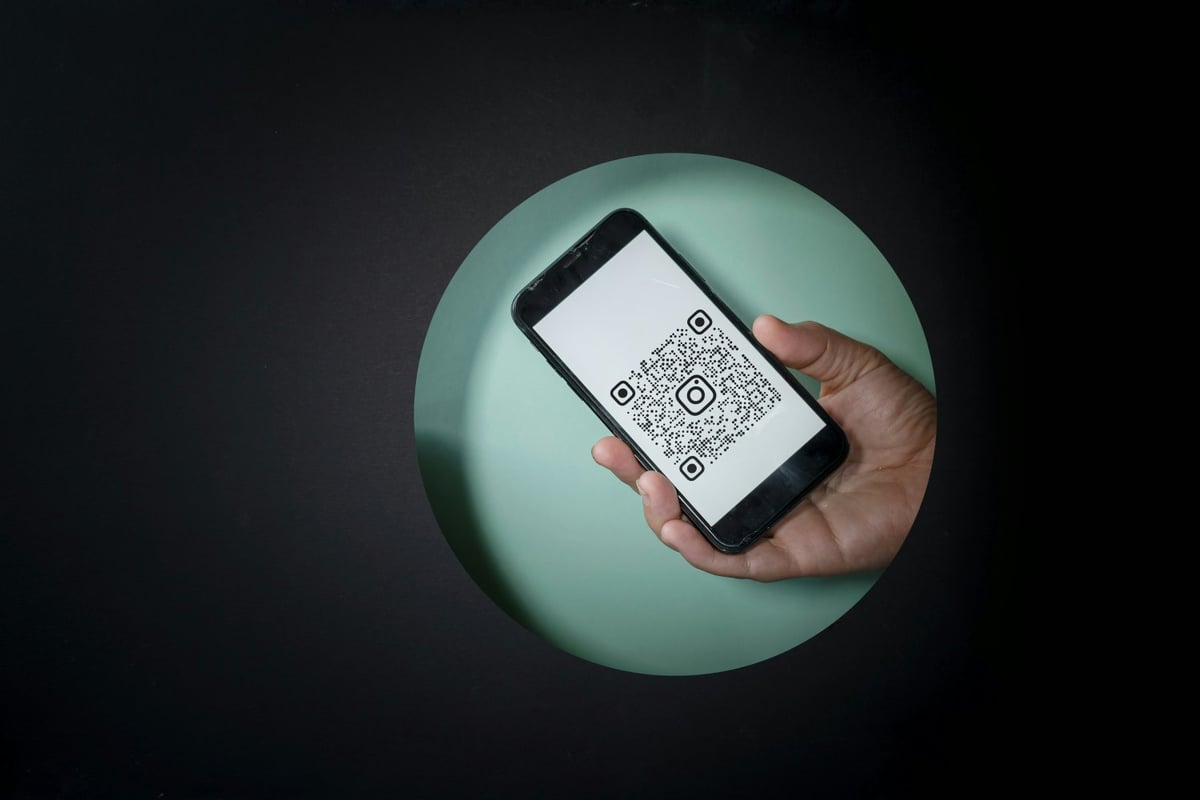
You can use a payment link for a set amount, a branded payment page for repeat payments, a QR code for in-person scan-to-pay, or small online sales for fixed-price offers.
Where wallet payments are especially useful
Wallet payments are useful wherever the customer is paying on mobile:
- Instagram or WhatsApp sales.
- Appointment deposits.
- Tutor and coaching session payments.
- Trade call-out fees sent by SMS.
- QR payments at a stall, studio or event.
- Simple product or package payments.
What can stop wallet buttons from showing
Wallet options might not show up for every customer. Their device, browser, location, card, payment service settings, or Stripe account setup can affect this. That is why your payment page should still let customers enter card details when needed.
Do not promise that every customer will see all wallet options. Use safer words, such as "pay by card," "Apple Pay," or "Google Pay," when available.
Make the payment page trustworthy
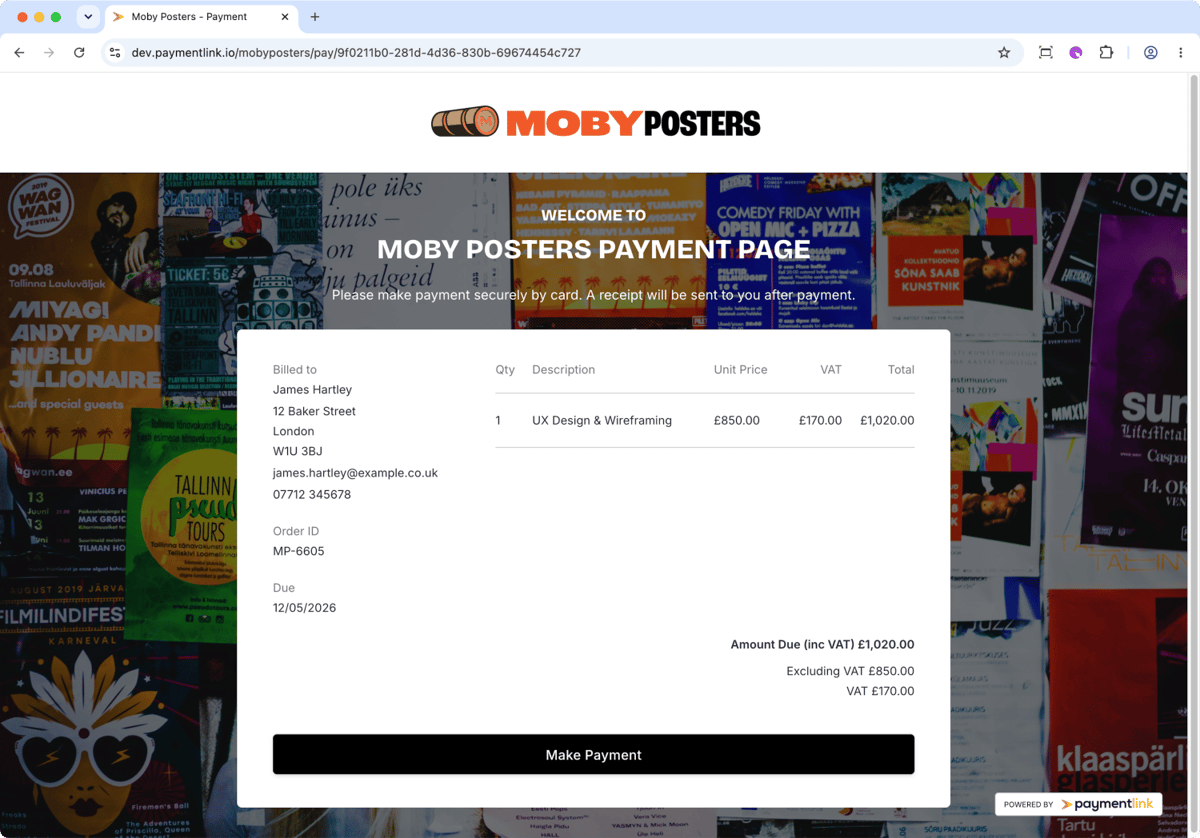
Wallet buttons can make payment faster, but customers still need to trust before they tap. Show your business name, payment reason, and amount clearly. A quick checkout on a page that does not look like your business can still make customers unsure.
Use branded payment pages to keep the customer experience clear and consistent with your brand while supporting the payment methods available through your connected setup.
A practical next step
Check your Stripe and PaymentLink.io setup, create a payment page, and look at it on different phones and browsers. See which payment options show up and make sure the page explains the payment clearly.
Start with branded payment pages if you want customers to use Apple Pay and Google Pay online when available, without building a custom checkout.
How to improve mobile checkout conversion
Wallet payments work best when the rest of the payment page is also easy to use on mobile. The page should load fast, show the amount near the top, and avoid distractions before payment.
Do not depend only on the wallet button. Some customers will enter card details, some will use Apple Pay, and some will use Google Pay, depending on their device and what is available on it. A good payment page supports the available options without confusing the customer.
Test the page from the channels you actually use, such as WhatsApp, Instagram, email and QR codes.
- Test on iPhone and Android.
- Keep descriptions short on mobile.
- Avoid unnecessary steps before payment.
- Use consistent business branding.
Before you make your wallet-ready payment setup live
Treat the payment process as part of your visible service, not just an admin shortcut. View the page on a mobile phone, check the spelling of the offer or service name, and ensure the amount matches what the customer agreed to. A small mistake can make customers unsure right when you want them to pay.
Next, test the process that the channel customers will actually use. If they get it by WhatsApp, open the link from WhatsApp. If they scan a sign, print a draft QR code and scan it with a normal camera app. If they will pick from a small list, make sure the item names make sense without you having to explain them in person.
Finally, keep the payment process easy to manage. Remove old links, update seasonal prices, and make sure staff or collaborators use the same approved wording. This consistency helps your branded mobile payment page feel trustworthy and makes the payment step easier to repeat as your business grows.
Use branded payment pages to create the payment path customers see, then keep improving the wording and layout based on the questions customers ask.
We’re fanatical about your success.
Start with a 30-day free trial - no restrictions, no monthly commitments or tie-ins.Start changing the way you take payments and make your life easier.


